1. Quick Start

Search for “Minecraft” on the App Store to create a new Minecraft application.
If you prefer a gameplay experience closer to vanilla, use the default PAPER type, or select your desired ModLoader (e.g., Forge or Fabric). Don’t worry—these configurations can be modified later.

After creation, your Minecraft application will start running. Pay attention to two key details:
- The application ID in the top-left corner. In this guide, the ID is
minecraft-ghidzagg. - The port number (the digits between
:and/TCP) in the bottom-right corner. In this guide, the port is31076.
Note: If following this tutorial, remember to replace the example ID with your own.
Once you’ve noted these details, click the Details button under the App Launched section to access the application details.
1.2. Assigning a Domain to the Application

In the App Launchpad, you’ll see detailed information about the application container.
To assign a publicly accessible domain to your Minecraft server, click the Manage Network button in the Network card.

Click Enable Internet Access to receive a randomly assigned domain. You’ll use this domain to access your server. If you want to use a custom domain, refer to this documentation.
After configuration, click Update to restart the application.

Once restarted, check the Public Address in the Network card. This is the domain for connecting to your server. Use the copy button to save it.
1.3. Connecting to the Server
In Section 1.1, we obtained the port 31076. In Section 1.2, we got the domain https://ywaiqihgopcn.ap-southeast-1.clawcloudrun.com.
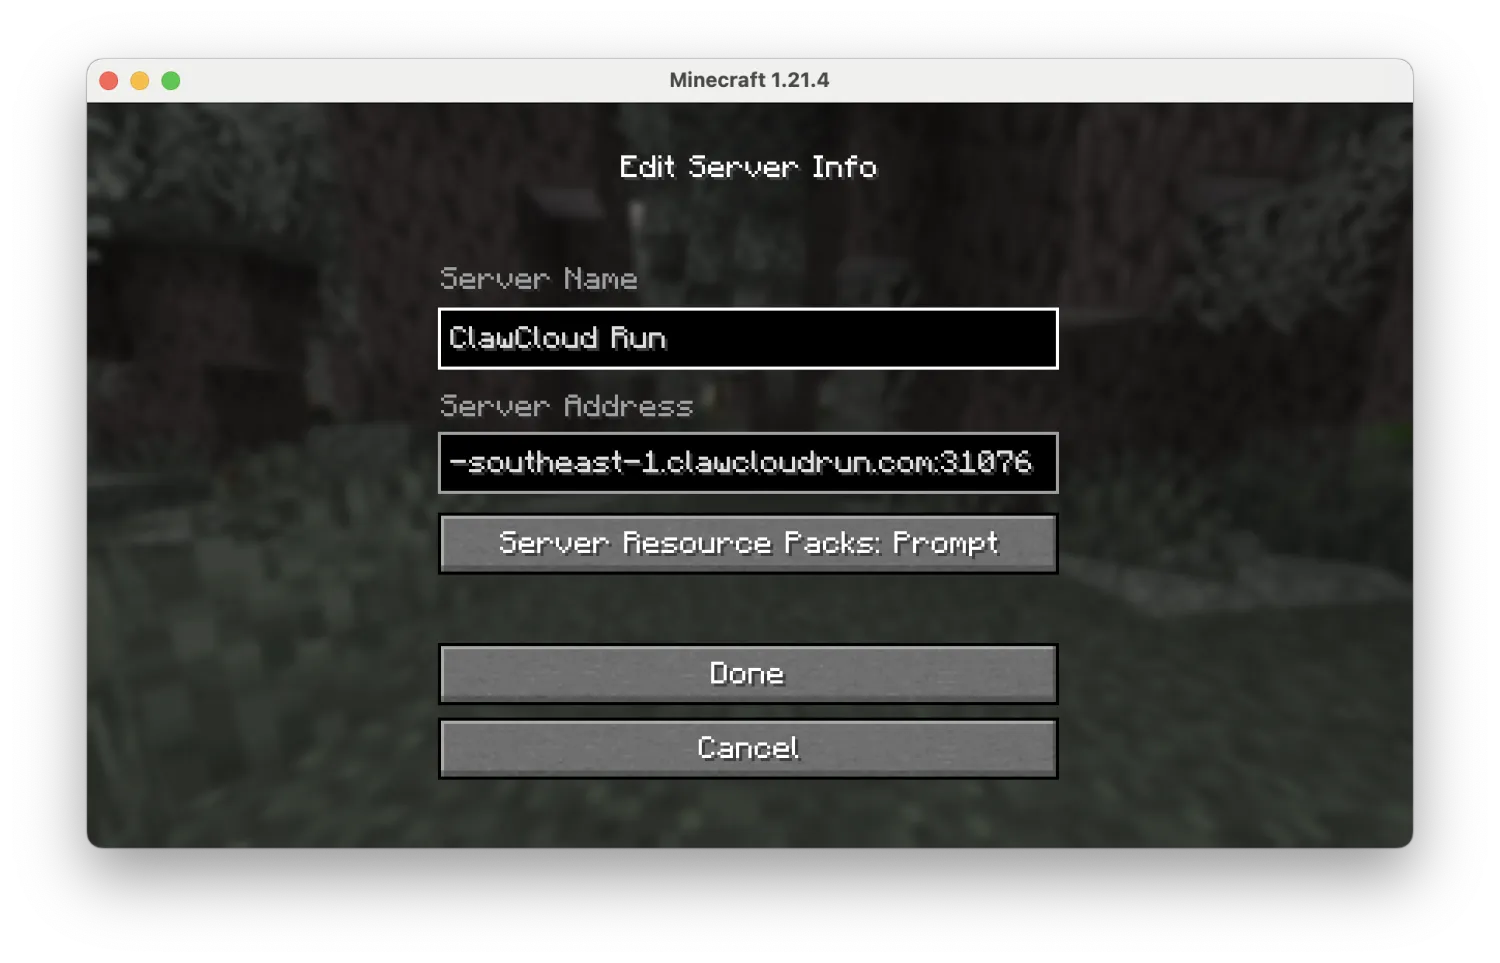
Combine these to form the server address: ywaiqihgopcn.ap-southeast-1.clawcloudrun.com:31076.
Launch Minecraft, go to Multiplayer > Add Server, and enter the address above.

After confirming the server status, join it. Ensure your game version matches the server’s.
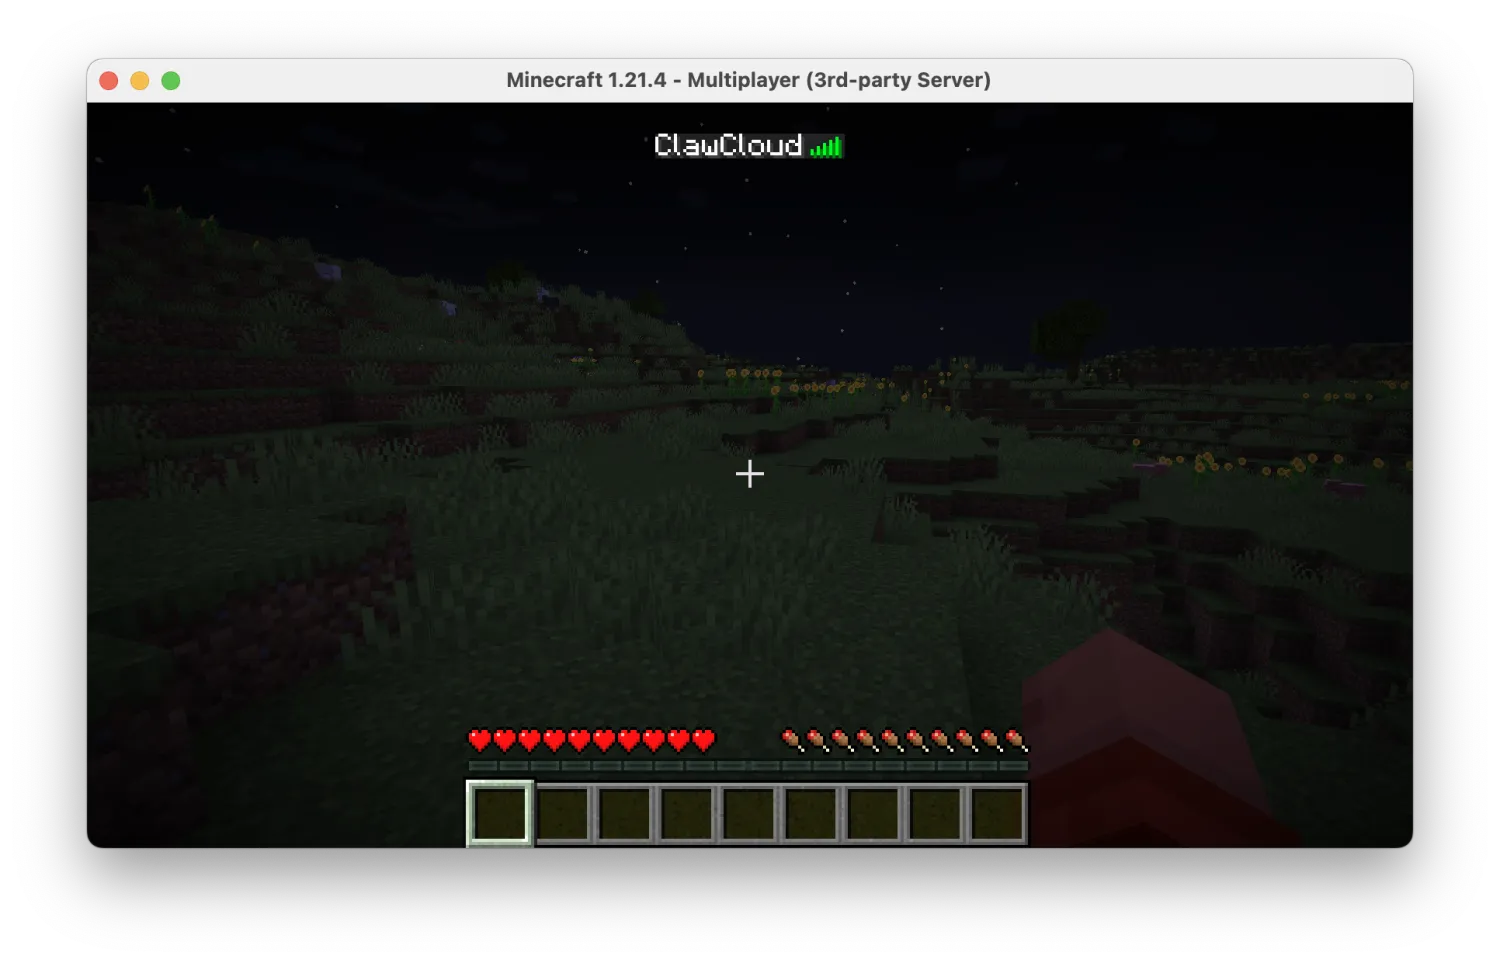
Happy gaming! For more configurations, see below.
2. Advanced Settings
2.1. Configuring ModLoader and Mods
Before installing mods, first identify the required ModLoader. Common options include Forge, NeoForge, Fabric, etc., depending on your mod’s requirements.
Below, we’ll use Mystical Agriculture Mod with NeoForge 1.21.1 as an example.

- In the App Launchpad, select your application and click Advanced Configuration. Under the Environment Variables card, click Manage.

- On the next page, click Add in the Environment Variables card.
- Modify the variables to match your desired version. The final result should be:
TYPE=NEOFORGE
VERSION=1.21.1
For details on Minecraft environment variables (e.g., online verification, resource packs), refer to this documentation.
- Save the changes, restart the application, and return to the details page.

- In the Pod List, click the file manager icon to access the file system.

- Navigate to the data/mods folder and upload your mod files. Since Mystical Agriculture requires Cucumber Mod, upload both. After uploading, click Restart in the Pod List (or restart the app).
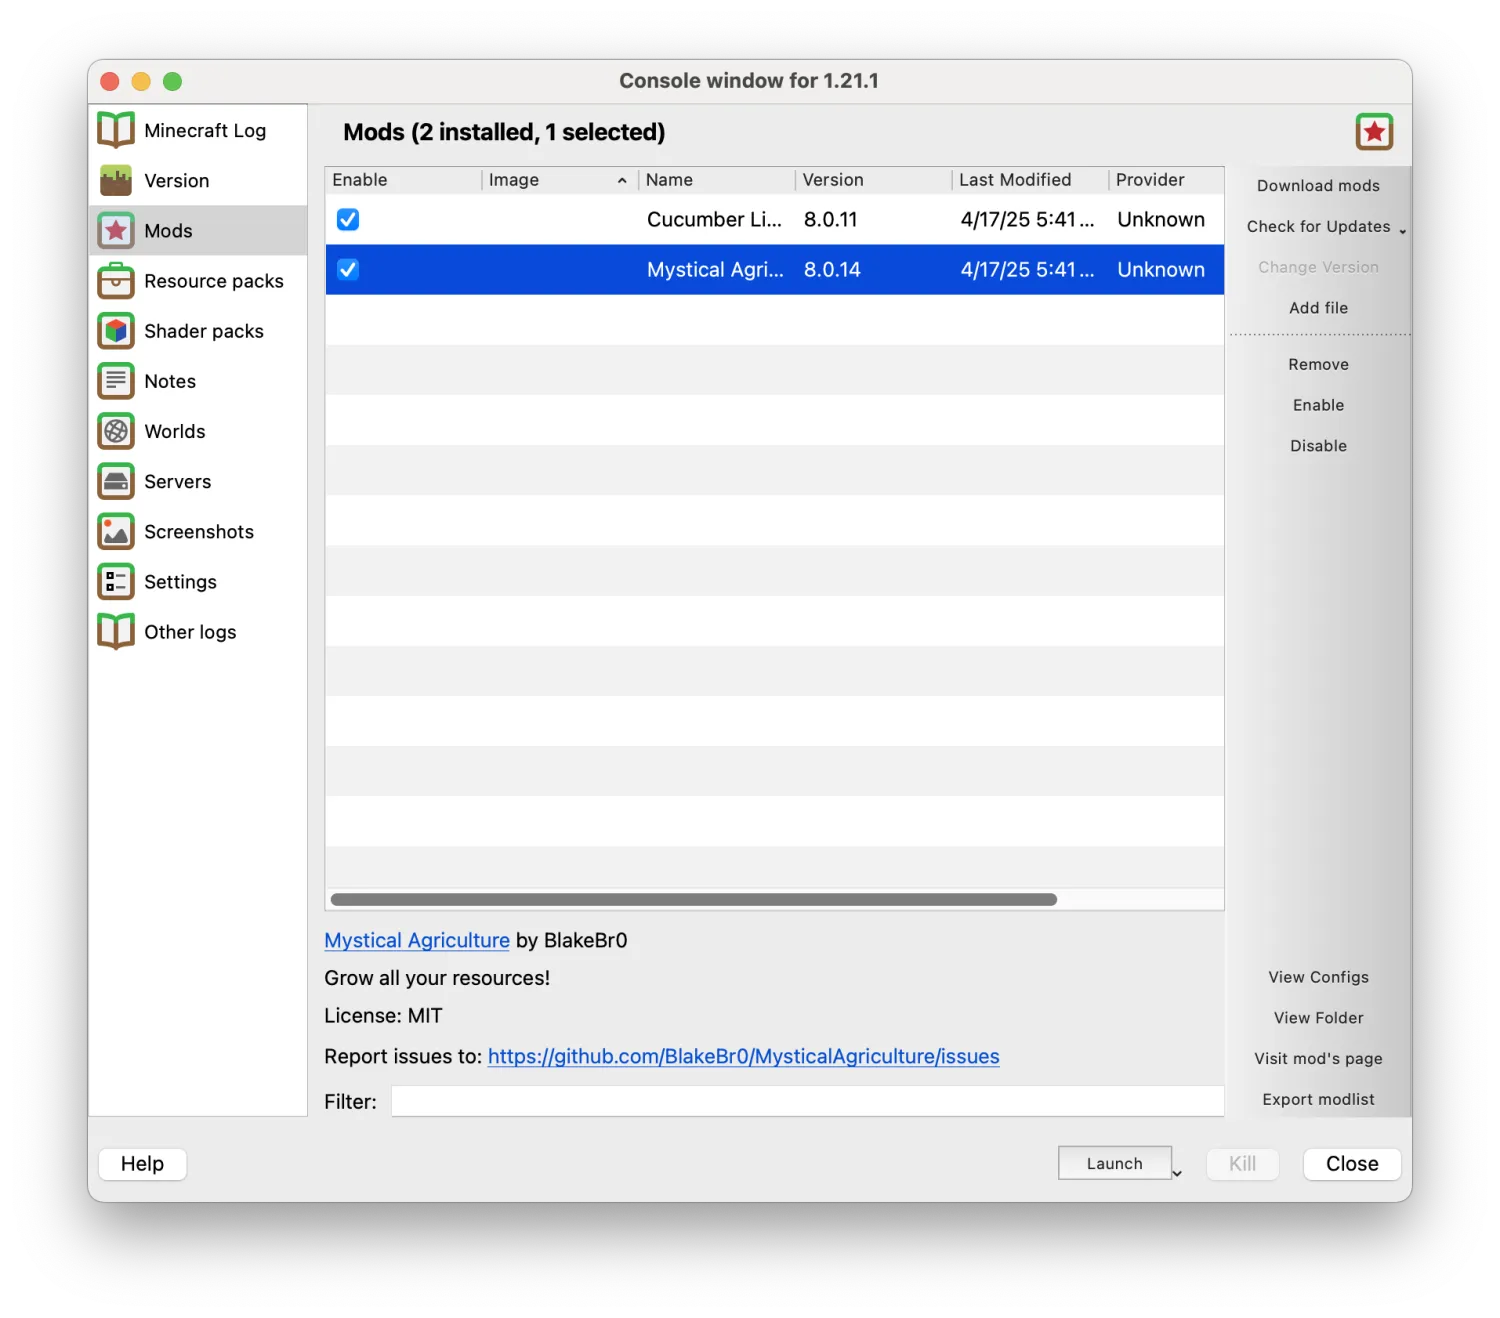
- Add the same mods to your Minecraft launcher, then launch the game and connect to the server.
- If the server fails to start (e.g., due to ModLoader conflicts, missing dependencies, or mod incompatibilities), click the Log button in the Pod List to troubleshoot.

Launch the game and test your new mods! 🎮
2.2. Interacting with the Server Terminal
In some cases, you may need to interact with the server terminal for quick management tasks, such as granting admin privileges or teleporting players. To do this, you’ll need to modify the application configuration via the terminal.

- Click the terminal icon and wait for initialization.
- Replace the application ID:
Remember the application ID obtained in Section 1.1? In this example, the ID isminecraft-ghidzagg—replace it with your own during setup.
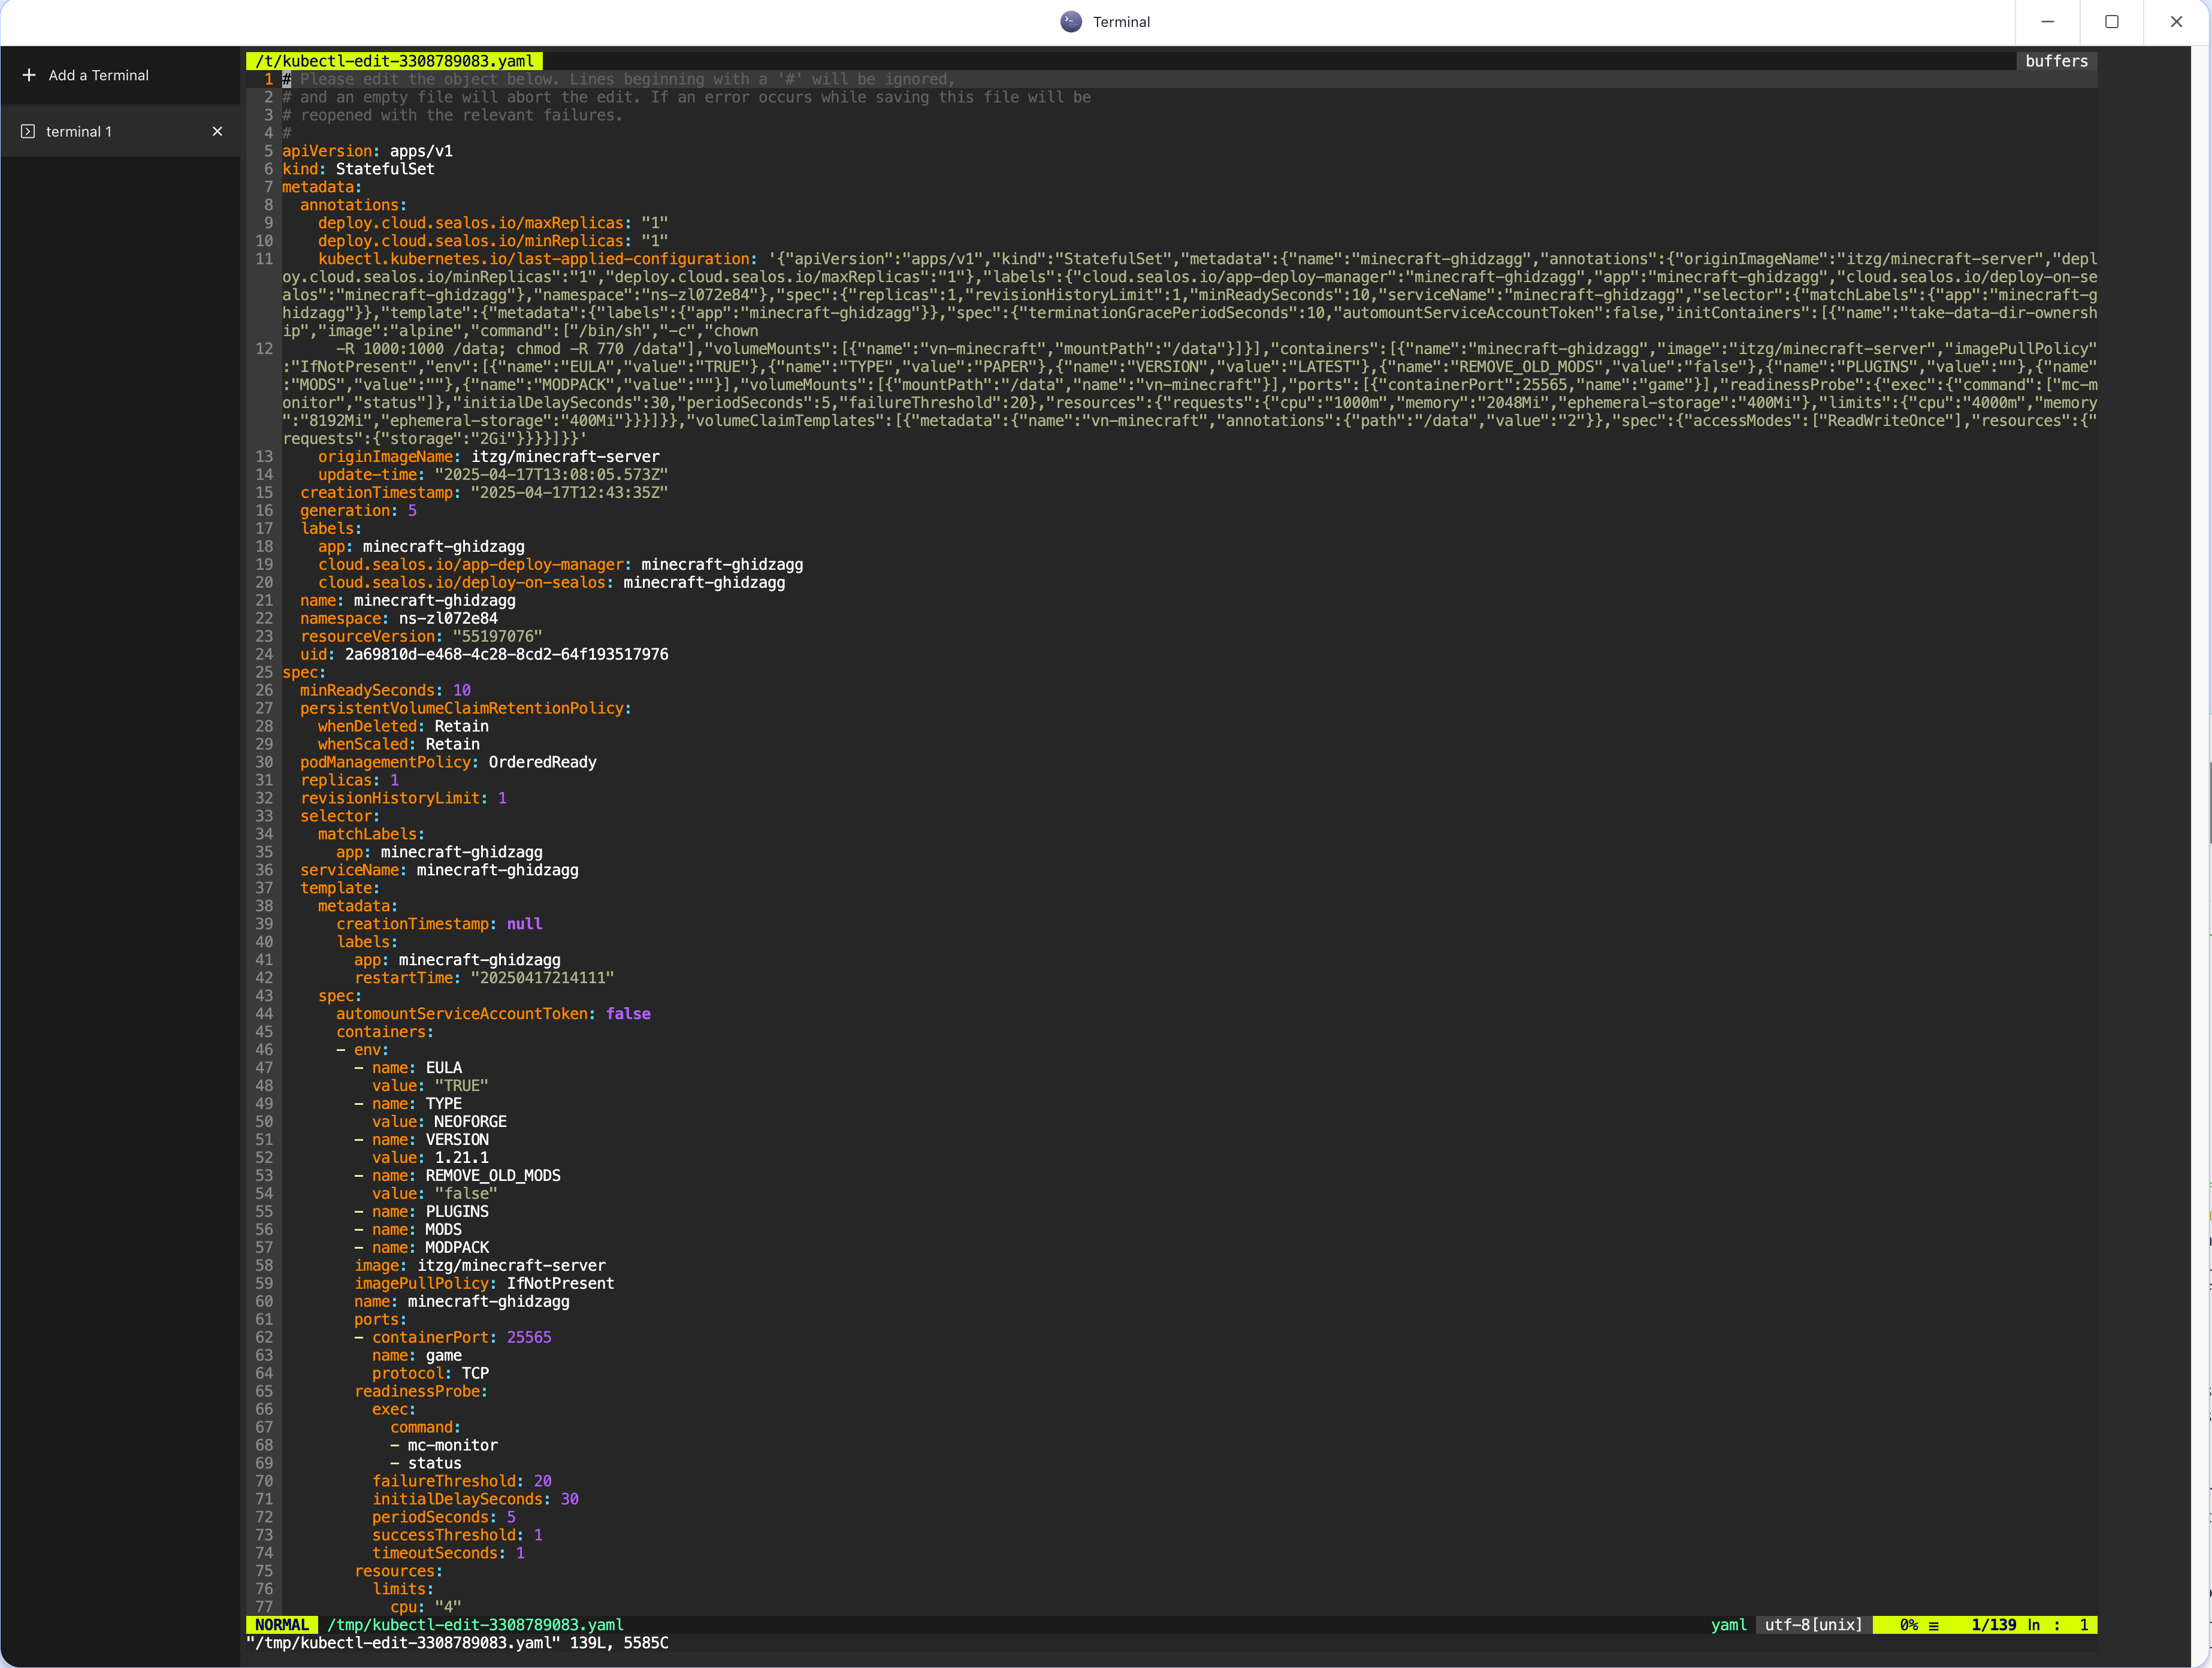
- Edit the StatefulSet:
In the terminal, run:
kubectl edit sts minecraft-ghidzagg - Use arrow keys to navigate or type
/volumeMounts:and press Enter to jump to thevolumeMounts:line.
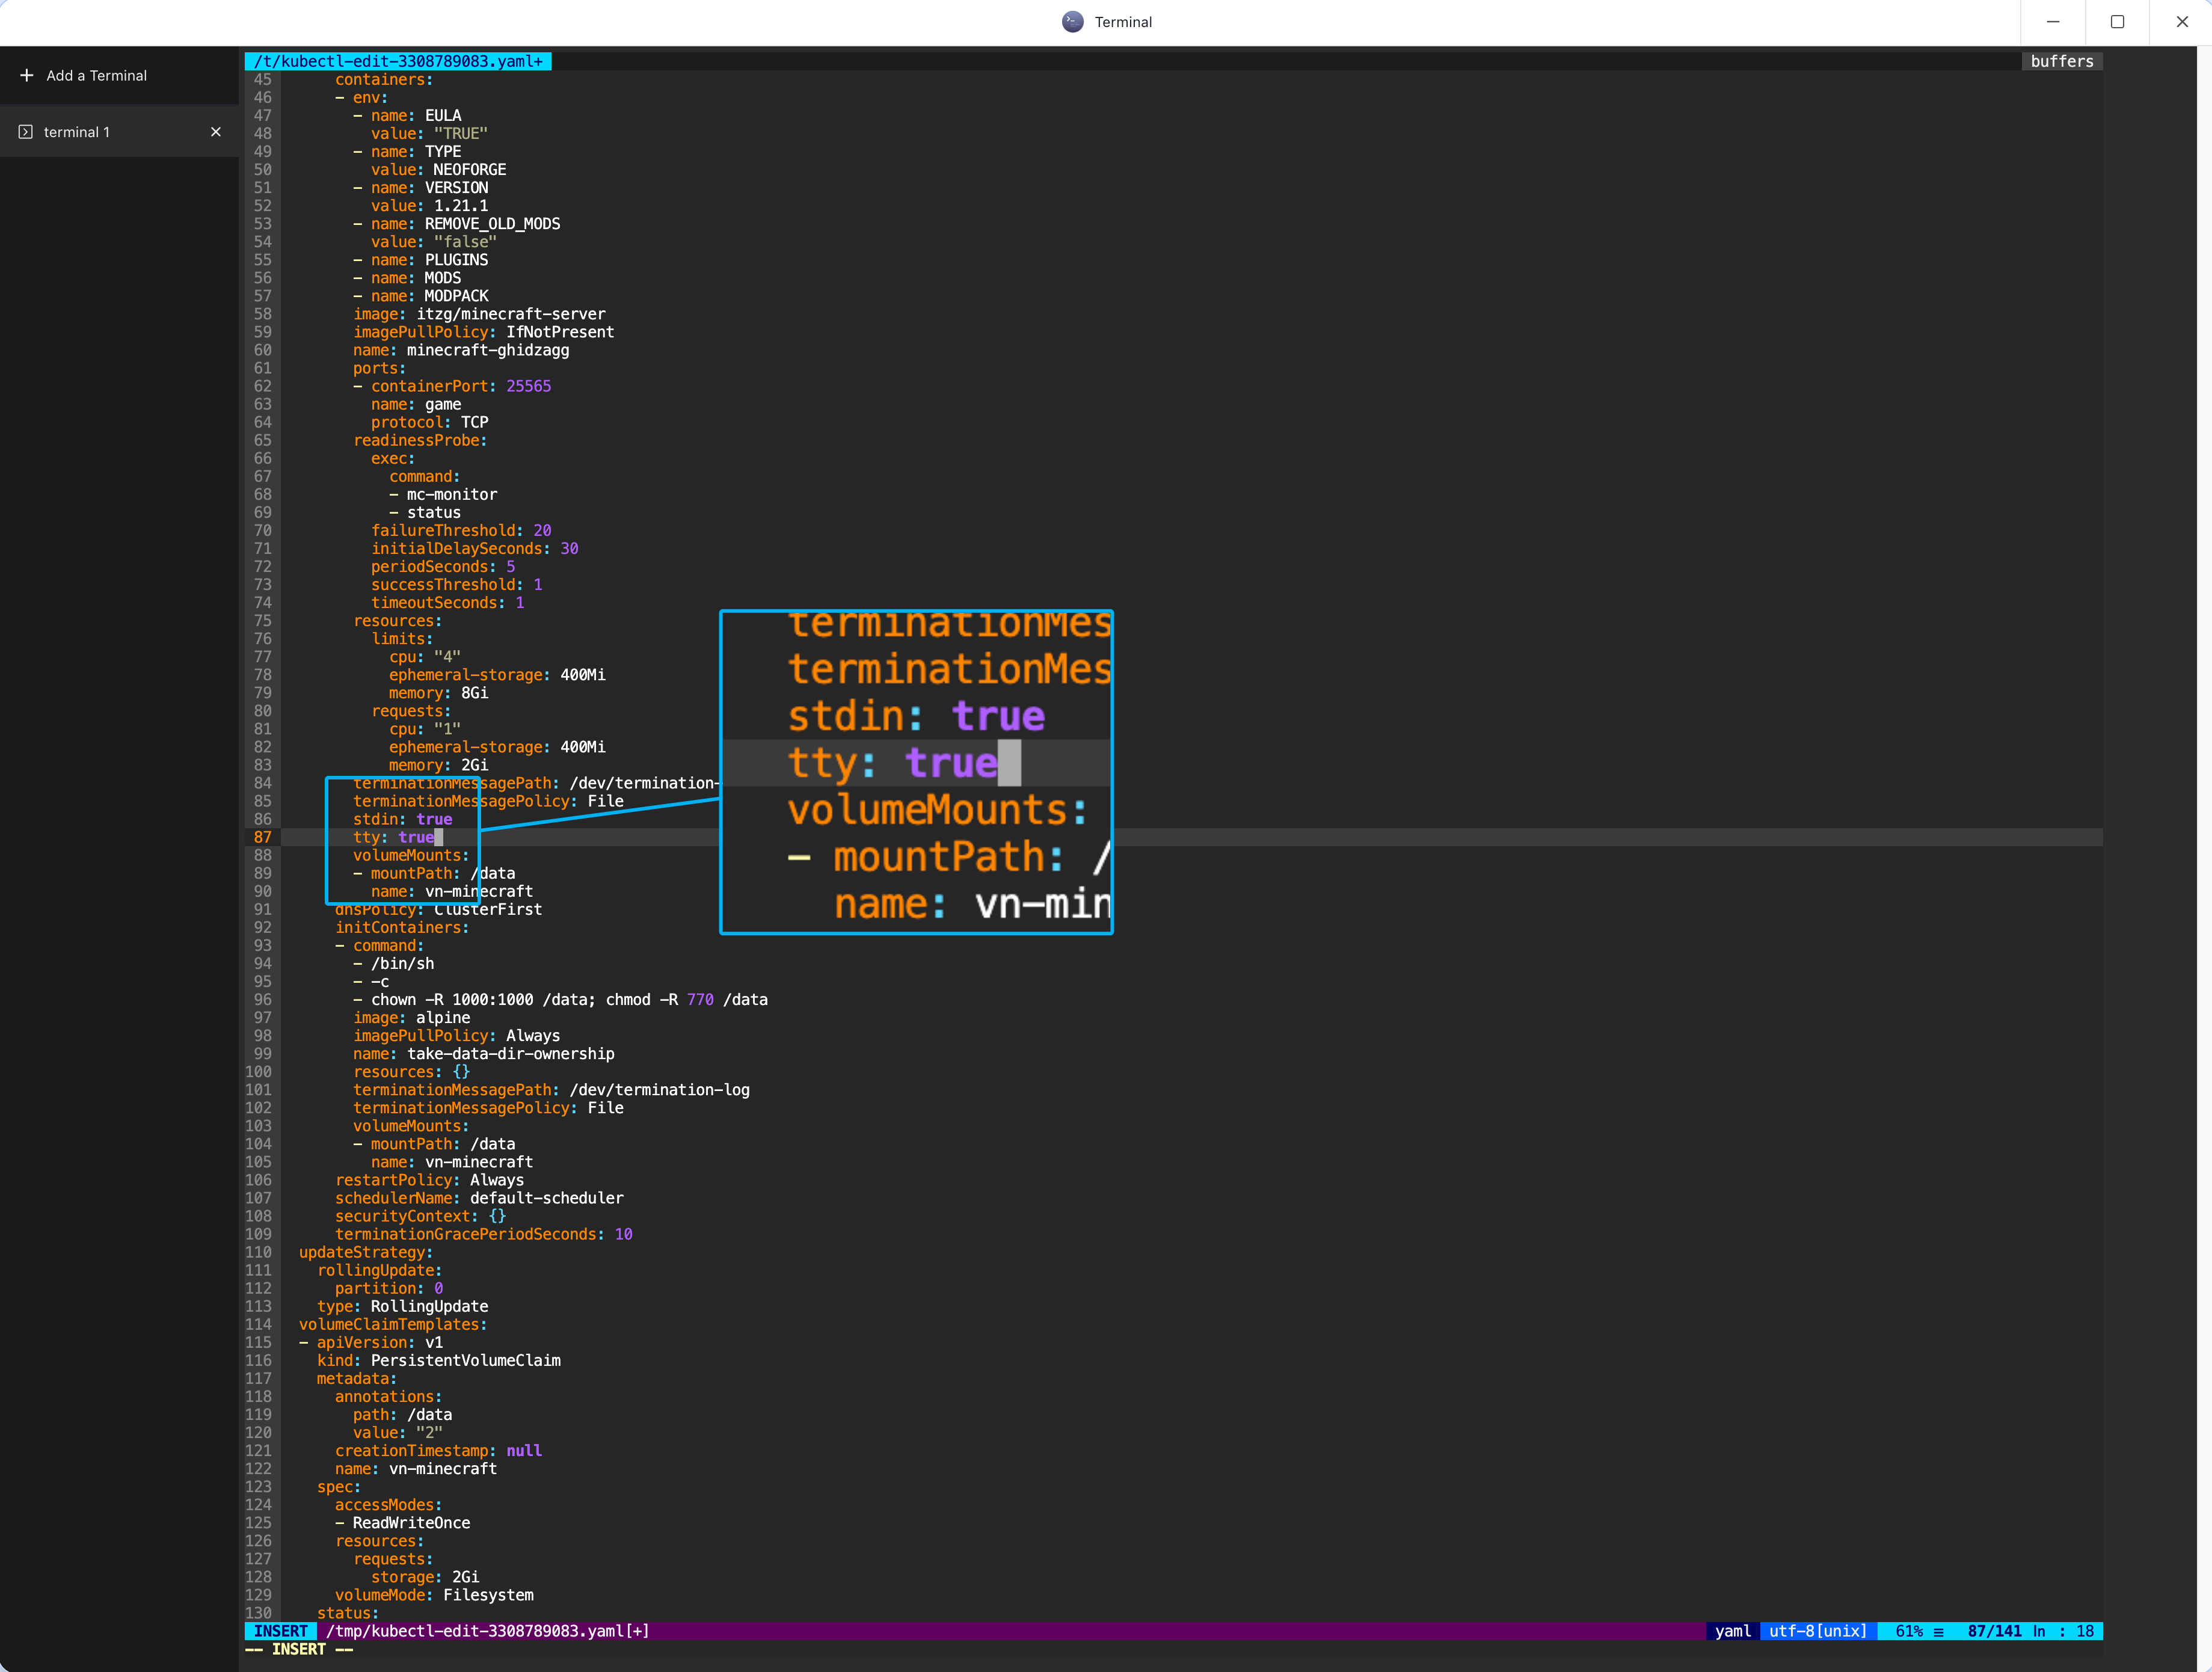
- Modify the configuration:
- Press
ato enter edit mode. - Add the following lines under
volumeMounts:(ensure correct indentation):
- Press
     stdin: true
tty: true - Press ESC to exit edit mode, then type
:wqand press Enter to save. - You’ll see a confirmation:
statefulset.apps/minecraft-ghidzagg edited.
root@(ns-zl072e84) ~$ kubectl attach -it minecraft-ghidzagg-0
Warning: Use tokens from the TokenRequest API or manually created secret-based tokens instead of auto-generated secret-based tokens.
Defaulted container "minecraft-ghidzagg" out of: minecraft-ghidzagg, take-data-dir-ownership (init)
If you don't see a command prompt, try pressing enter.

> >means players have entered the console, you can input helpfor help.
Here is the demo for setting players ClawCloudas admin :
- players enter servers
- input
/op ClawCloudon terminal.
here is the response on terminal:
> /op ClawCloud
[14:10:34] [Server thread/INFO] [minecraft/MinecraftServer]: Made ClawCloud a server operator
> 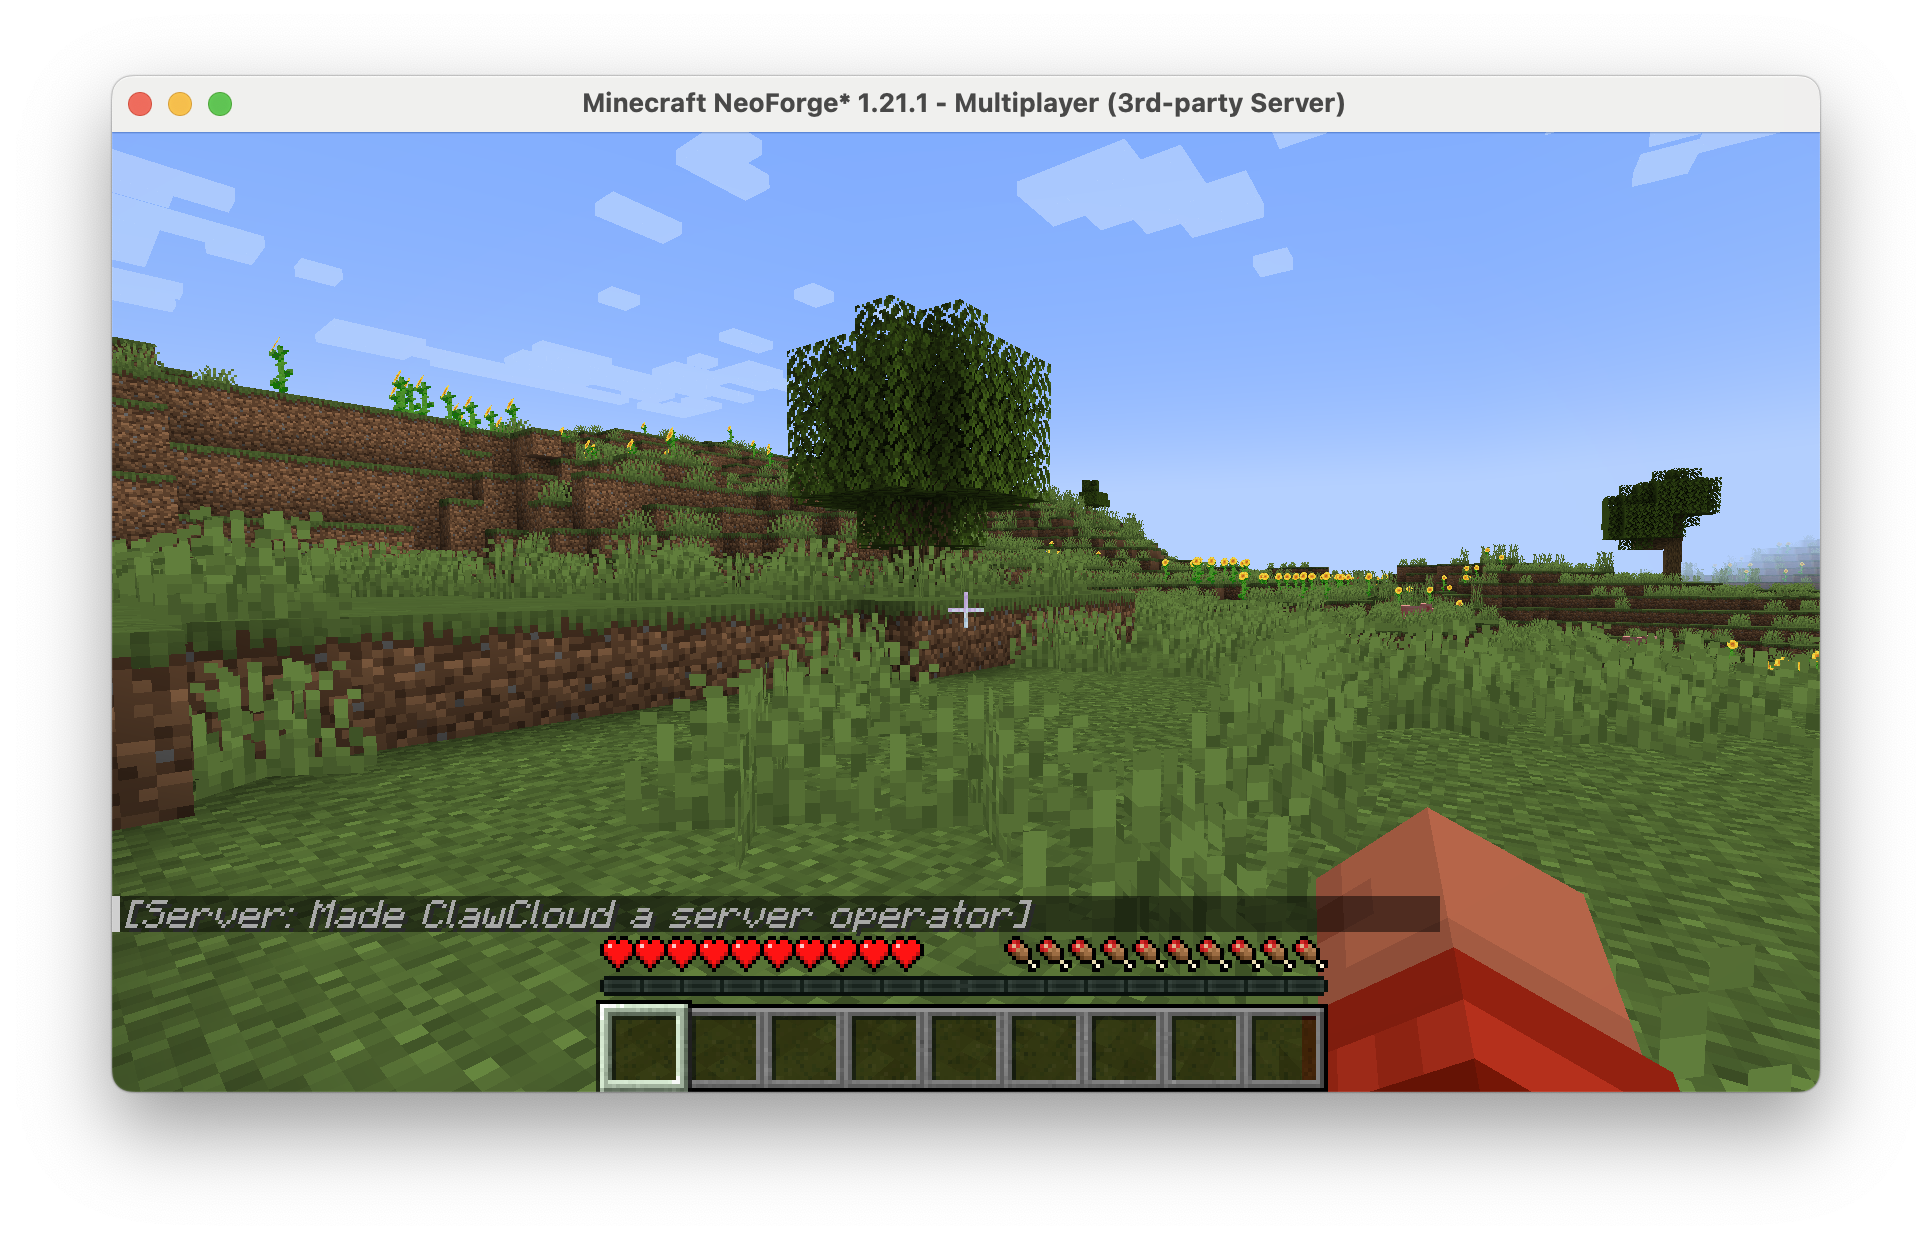
The player will now have admin privileges in-game.